
Gridsome is a Vue.js framework built for JAMstack apps. Whether it’s Serverless, markdown, or a headless CMS, Gridsome has you covered! And as Gridsome says it, “Gridsome makes it easy for developers to build modern websites, apps & PWAs that are fast by default.”
It should also be said that Gridsome is “highly inspired by Gatsby.js (React based) but built on top of Vue.js.”
With that out of the way, let’s jump in and build! For this article, we will set up a Gridsome blog utilizing Markdown as our source of data.
Setup (Installing Gridsome)
You can skip installing the Gridsome CLI if you are using npx.
Install the Gridsome CLI tool
Using YARN:
yarn global add @gridsome/cliUsing NPM:
npm install --global @gridsome/cli
Creating our Blog!
With the CLI installed, let’s open a terminal and run the following commands.
gridsome create my-blogto create a new projectcd my-blogto open foldergridsome developto start local dev server athttp://localhost:8080
Setting up Gridsome to Look for Our Markdown
In gridsome.config.js, we will utilize the Gridsome plugins @gridsome/source-filesystem and @gridsome/transformer-remark to let Gridsome understand our content that in turn can be pulled in with GraphQL. Restart your server after making changes to your config.
Install:
npm install @gridsome/source-filesystemnpm install @gridsome/transformer-remark
module.exports = {
  siteName: 'Gridsome Blog!',
  siteDescription: 'Whoaaa what a blog you\'ve got here',
  templates: {
    Resource: '/blog/:slug',
  },
  plugins: [
    {
      use: '@gridsome/source-filesystem',
      options: {
        path: 'content/articles/**/*.md',
        typeName: 'Resource',
      }
    }
  ],
}
Next we’ll update the layouts/Default.vue
This is a generated, base layout, created by Gridsome and used as a wrapper for pages and templates to be inserted. In this file, we will replace the default contents with the template below. For more information, check out the Layout Docs.
<template>
  <div class="layout">
    <slot/> <!-- this slot is where pages && templates end up -->
    <div class="footer"></div>
  </div>
</template>
Moving on to Pages/index.vue (Homepage)
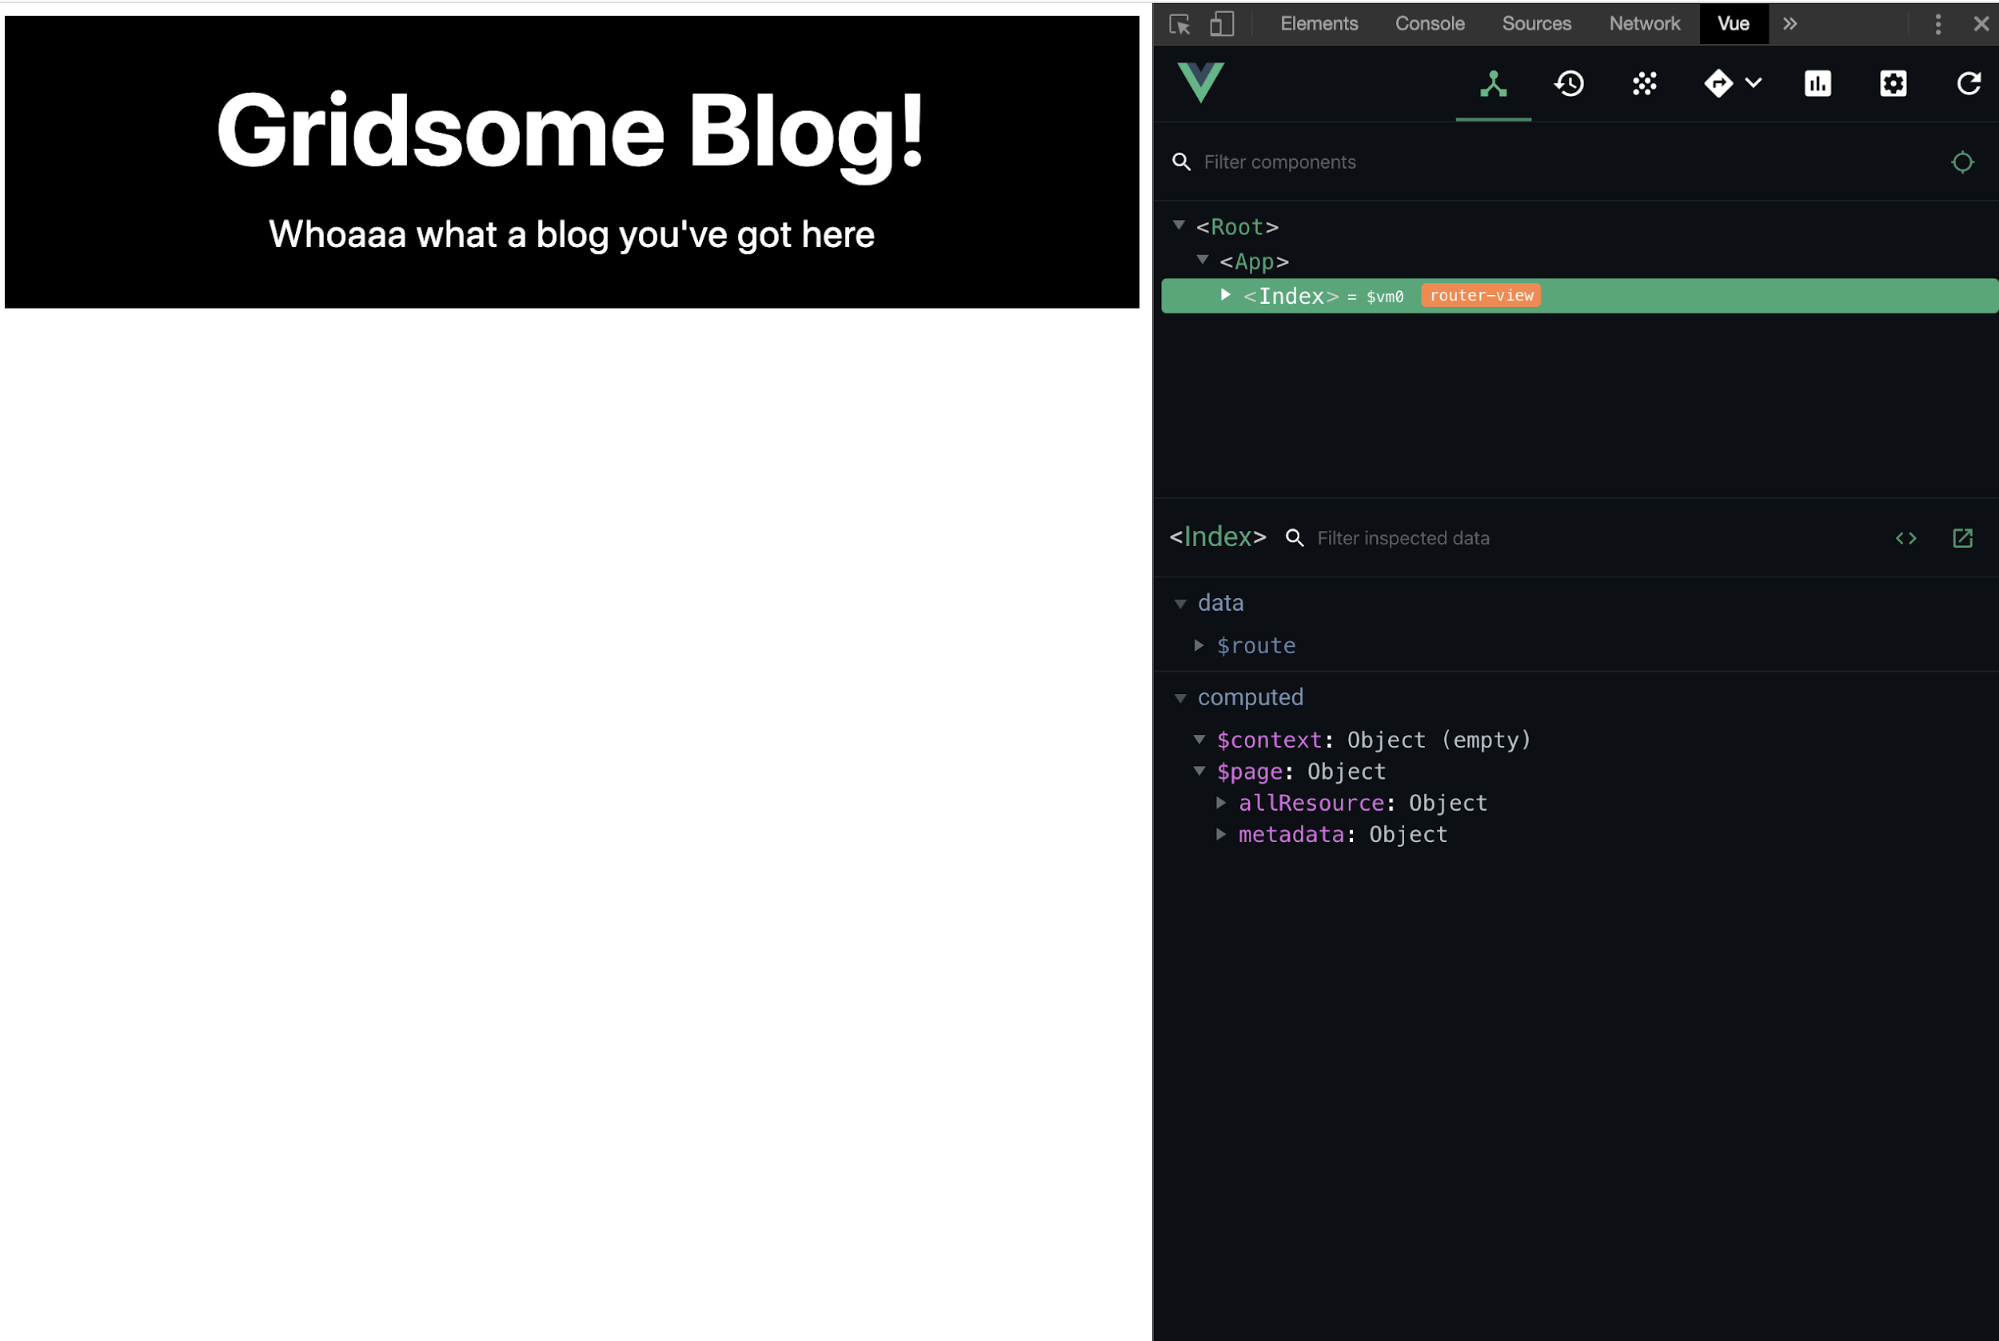
Here we will set up the homepage for our blog. We will display a list of our articles by utilizing a <page-query> to query all of our content (articles) from our allResource schema. For now, we will demonstrate that our page context is working properly by outputting the siteName and siteDescription onto our page. Further examination can be done by utilizing the Vue.js devtools to inspect different components of our blog.
Notes:
When utilizing GraphQL queries,
<page-query>is for pages/templates and<static-query>is for components.To set the title for a page, you can utilize the
metaInfo.titleproperty shown below. It is also possible to set these globally from yourgridsome-config.js.
<template>
  <Layout>
    <header class="header">
      <h1 v-html="$page.metadata.siteName" />
      <h2 v-html="$page.metadata.siteDescription" />
    </header>
  </Layout>
</template>

<page-query>
query {
  metadata {
    siteName
    siteDescription
  }
  allResource {
    edges {
      node {
        id
        title
        description
        date (format: "D MMMM YYYY")
        path
      }
    }
  }
}
</page-query>

<script>
export default {
  metaInfo: {
    title: "The Most Awesome Blog You Have Never Heard Of!"
  }
};
</script>

<style>
body {
  font-family:-apple-system, BlinkMacSystemFont, 'Segoe UI', Roboto, Oxygen, Ubuntu, Cantarell, 'Open Sans', 'Helvetica Neue', sans-serif;
}

a {
  color: purple;
}

.header {
  background-color: black;
  color: white;
  font-size: 2rem;
  text-align: center;
  line-height: 1.5rem;
  padding: 1rem;
}

.header h2 {
  font-family: inherit;
  font-size: 1.5rem;
  font-weight: normal;
}
</style>
Creating our ResourceList Component (Styles Optional)
Like most blogs, we’re gonna show a list of our articles on the homepage. For this we will create a ResourceList component at components/ResourceList.vue. This component is quite simple in that we are simply receiving the resources props as defined in the parent (index.vue) and displaying them on the screen.
<template>
<div class="resource-list">
<h3 v-html="resource.title" />
<ul class="resource-list__details">
<li v-html="resource.date" />
</ul>
<p class="resource-list__description" v-html="resource.description" />
<g-link :to="resource.path" class="resource-list__full-article">Full Article →</g-link>
</div>
</template>
<script>
export default {
name: 'ResourceList',
props: ["resource"],
};
</script>
<style scoped>
.resource-list {
padding: 1rem;
}
.resource-list__description {
padding: 1rem 0;
}
.resource-list__full-article {
background-color: black;
color: white;
padding: 1rem;
text-decoration: none;
}
ul {
display: flex;
list-style: none;
padding: 0;
}
li:first-of-type {
padding-right: 1rem;
}
</style>
Adding the ResourceList Component to Our Page
With our new component completed, we can go ahead and plug it into the index.vue by updating our template markup and then our script section. These updates will not create any visual changes for us quite yet as we have one more step we must complete in order for this to happen.
<template>
  <Layout>
    <header class="header">
      <h1 v-html="$page.metadata.siteName" />
      <h2 v-html="$page.metadata.siteDescription" />
    </header>
    <section class="resources">
      <ResourceList
        v-for="edge in $page.allResource.edges"
        :resource="edge.node"
        :key="edge.node.id"
      />
    </section>
  </Layout>
</template>
<script>
import ResourceList from "@/components/ResourceList";
export default {
  components: {
    ResourceList
  },
  metaInfo: {
    title: "The Most Awesome Blog You Have Never Heard Of!"
  },
};
</script>
Lest We Forget our New Template
The last piece we are going to add is our template. As stated above, we need to create a template with the same name as we define in our config. Go ahead and create templates/Resource.vue. This will enable us to render full articles at our specified path, mine being /blog/:slug. Notice here that unlike our index.vue query, we are simply calling out an individual resource based on its id.
<template>
  <div class="resource-template">
    <router-link to="/">Home</router-link>
    <h1 v-html="$page.resource.title" />
    <p v-html="$page.resource.date" />
    <div v-html="$page.resource.content" />
  </div>
</template>

<page-query>
query ($id: ID!) {
  resource(id: $id) {
    title
    content
    date (format: "D MMMM YYYY")
  }
}
</page-query>

<style>
.resource-template {
  font-family: -apple-system, BlinkMacSystemFont, 'Segoe UI', Roboto, Oxygen, Ubuntu, Cantarell, 'Open Sans', 'Helvetica Neue', sans-serif;
}
</style>
Finally We Can Write and Display Articles!
Let’s create a sample article to prove that this thing actually works. At the root of your project, create a directory structure for your articles. Mine is content/articles. Note that by “root” I mean outside of the src directory. Here we will create our first article. We’ll call it article_1.md. If you are familiar with other static site generators, like Jekyll, you may be thinking that the name of the article should be formatted differently, possibly postfixed with a date. But for us, we told the @gridsome/source-filesystem plugin to look for any markdown files in content/articles/, and our urls are created with/blog/:slug.
In our document, we will set the yaml properties for querying in our pages/templates/components. It is possible for us to define any number of properties here and query them later on. If you add or remove properties, be sure to restart your server after and make sure any existing queries you may have are either looking for the new properties or no longer looking for old properties.
---
title: "Our First Article"
description: "Odio ut sem nulla pharetra. Ornare aenean euismod elementum nisi quis eleifend quam adipiscing."
date: 2019-05-23
slug: our-first-article
---

Lorem ipsum dolor sit amet, consectetur adipiscing elit, sed do eiusmod tempor incididunt ut labore et dolore magna aliqua. Justo eget magna fermentum iaculis eu non diam phasellus. Odio ut sem nulla pharetra. Ornare aenean euismod elementum nisi quis eleifend quam adipiscing. Felis eget velit aliquet sagittis. Est velit egestas dui id ornare arcu odio ut sem. Lectus proin nibh nisl condimentum. Sagittis nisl rhoncus mattis rhoncus urna neque. Tincidunt tortor aliquam nulla facilisi. Sed nisi lacus sed viverra. Sed augue lacus viverra vitae congue eu. In nibh mauris cursus mattis molestie a iaculis. Feugiat vivamus at augue eget.
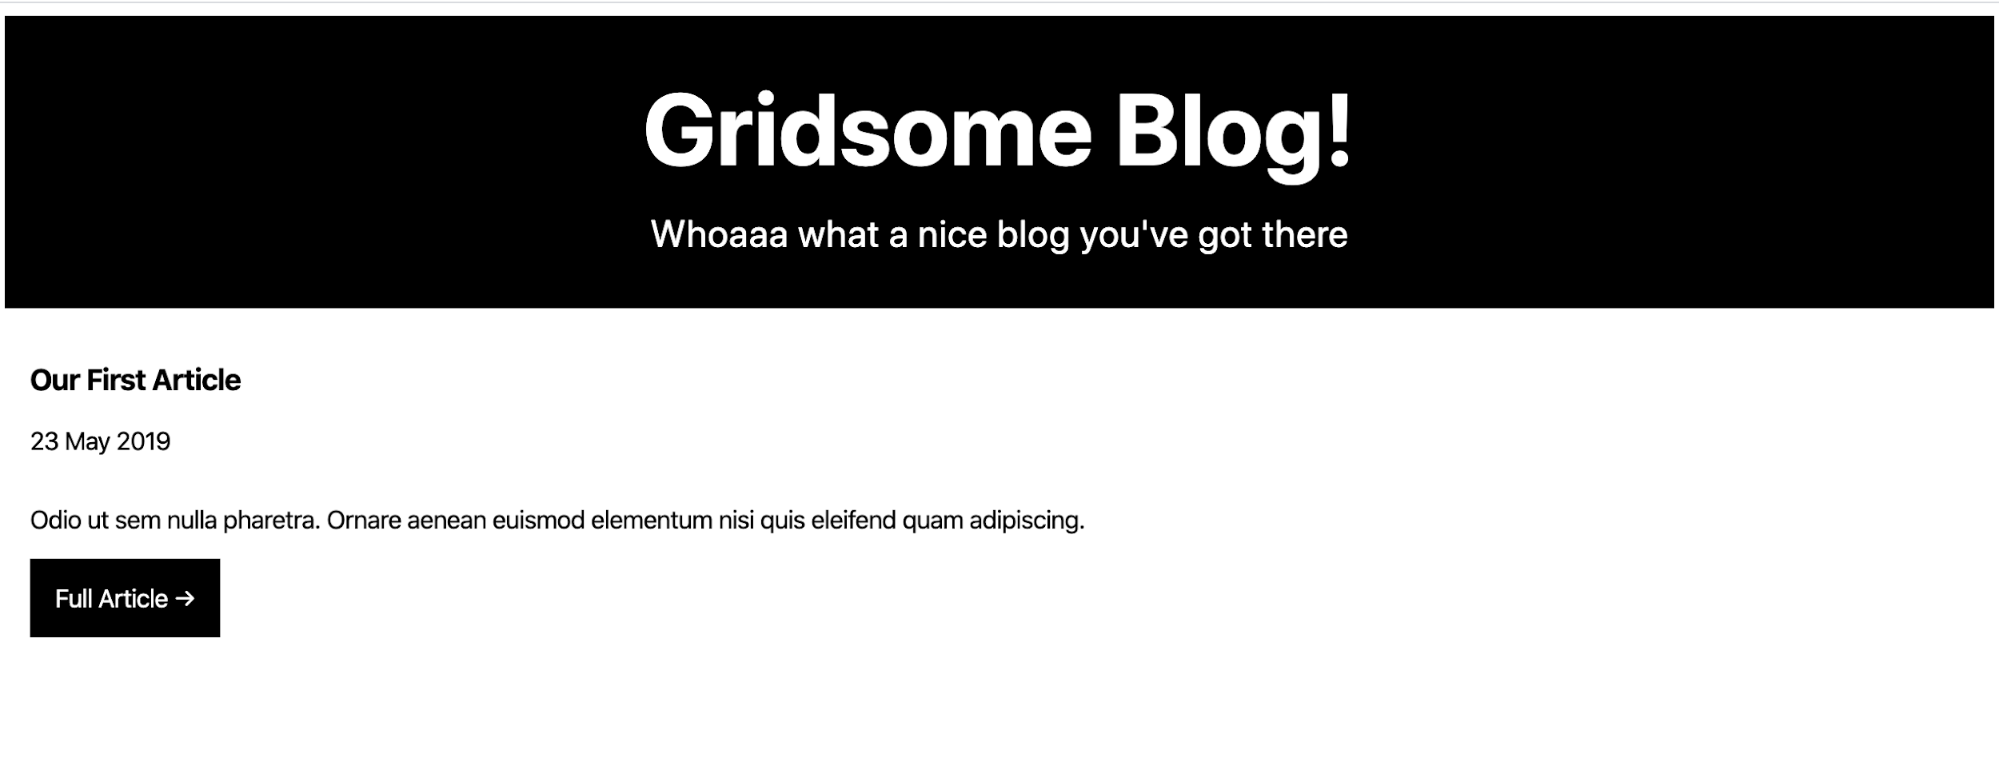
Clicking on the Full Article link will take you to the article page!

If you have made it this far, congratulations! You should now be able to display your blog’s content, create new content, and see the power of Gridsome.
Gridsome is still young, with its initial commit coming on July 31, 2018. As a Vue lover, I see a lot of benefits in the project and hope it grows similarly to the way Gatsby has grown. With its growing plugin system, flexibility, and easy deployment options like Netlify, you are able to implement the power of the JAMstack, a headless CMS, or a SPA in such a short period of time that you’ll be wondering why everyone else isn’t already doing it.
Sparkbox’s Development Capabilities Assessment
Struggle to deliver quality software sustainably for the business? Give your development organization research-backed direction on improving practices. Simply answer a few questions to generate a customized, confidential report addressing your challenges.
