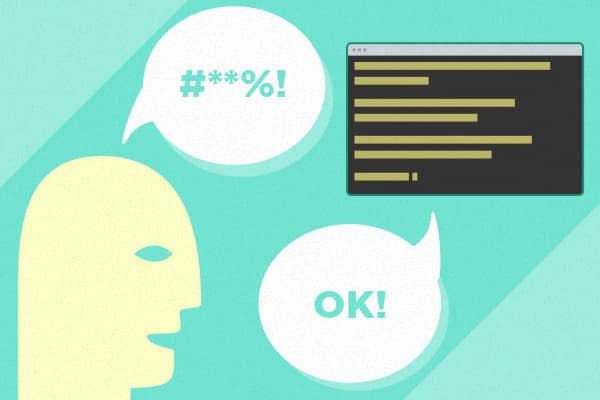
Knowing your way around the terminal has become a baseline for frontend developers, but terminal-specific tips don’t really surface much. Let’s change that!
I’ve assembled a list of my favorite packages and tricks for the command line. Master these to speed up your workflow, impress your friends, and serve as a conversation-starter for your next date.
Super Helpful Commands to Know
Here are some super helpful commands to know! Try them out right now:
Open a Project in Finder
Use open . to launch Finder at the place you are right now in the terminal. It’s great for when you need to quickly jump to your current project in the Finder to do faster file manipulation, edit images, or whatever.
Launch a Project in Your Editor
Use an executable to launch your editor. I can type sub . in any directory to open the directory as a project in Sublime Text. Here’s how you do that in Sublime, you get it for free with Atom editor, and here’s a little package to do it in Coda.
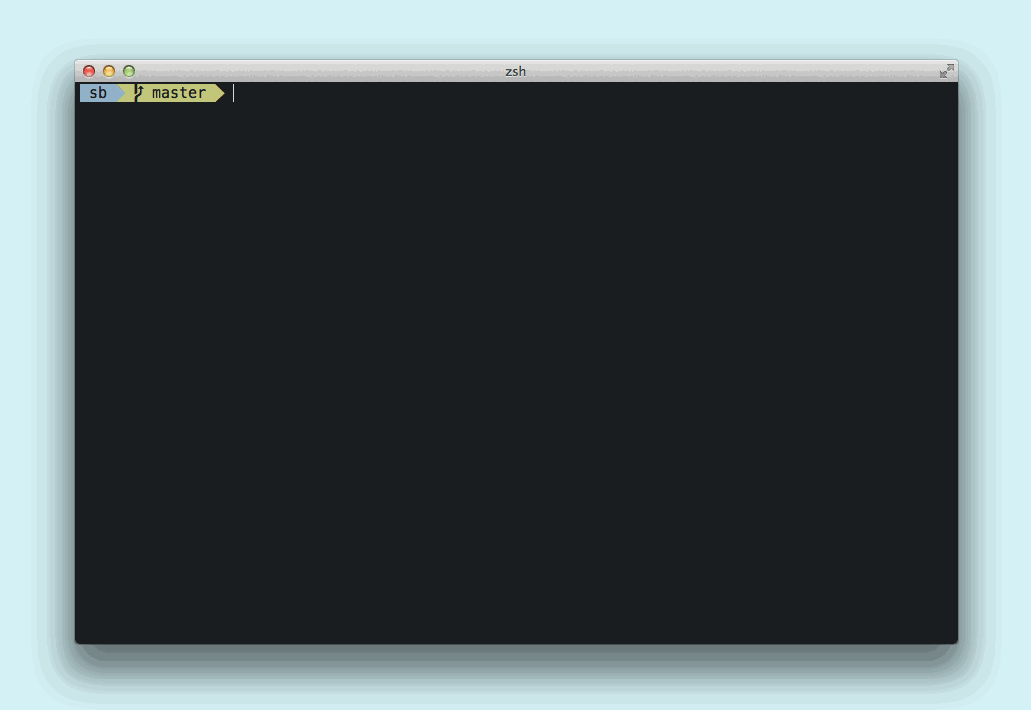
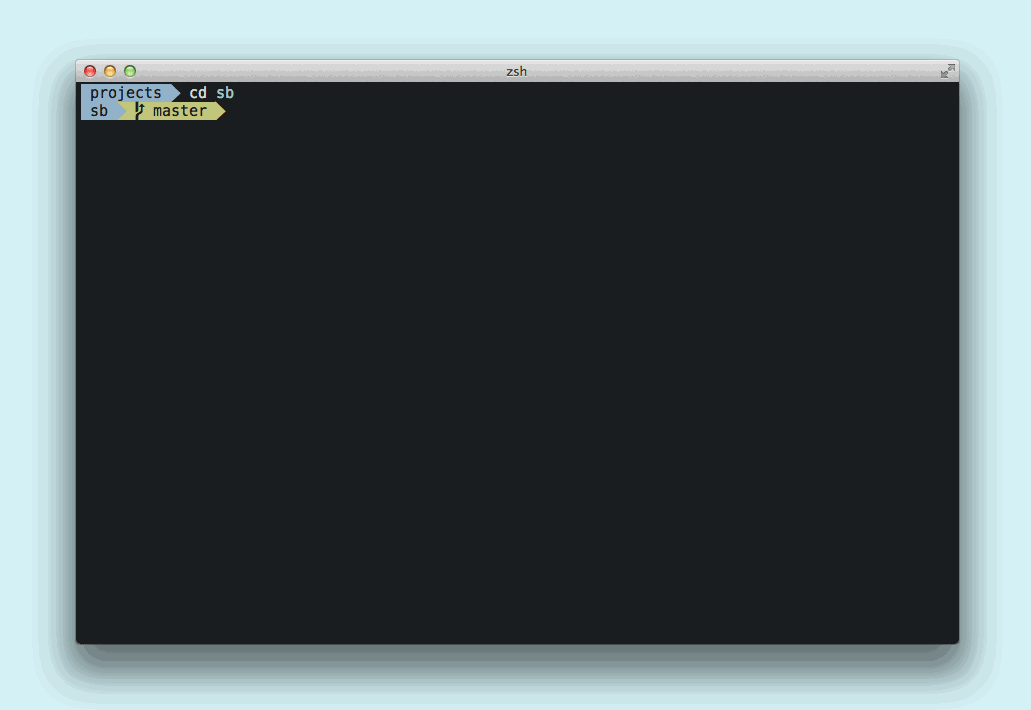
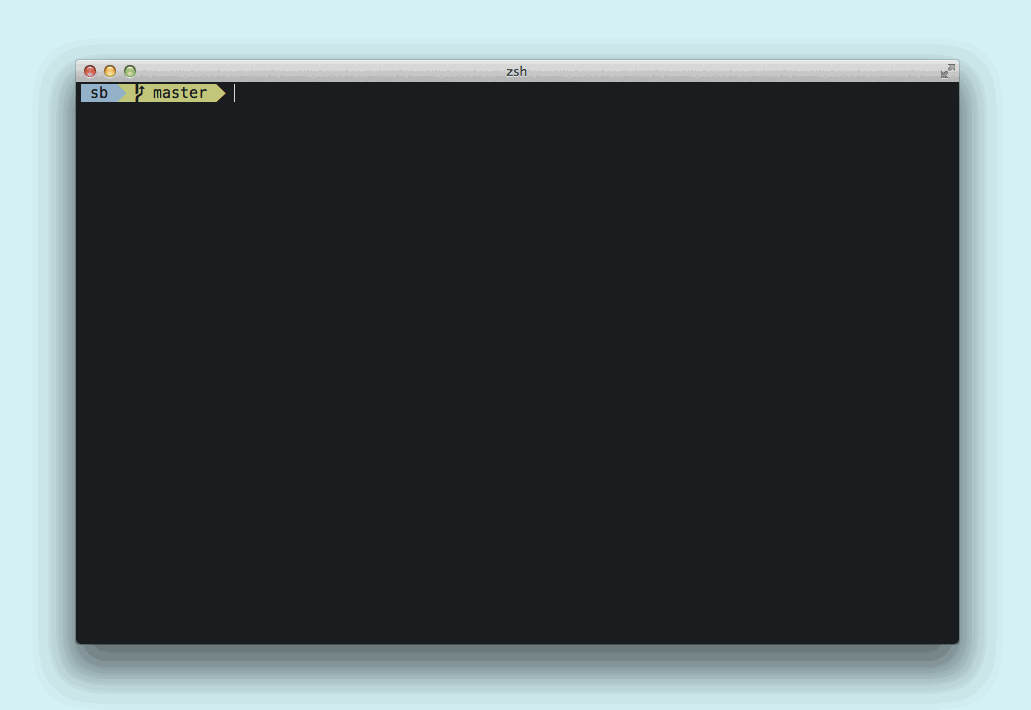
Jump to a Project Folder from Anywhere
Jump to any project from anywhere using the zsh shell (I’ll get to this later). Just add this script to your .zshrc:
    go() { cd ~/Documents/projects/$1; }
    _go() { _files -W ~/Documents/projects -/; }
    compdef _go go
Using this script, you can type go to jump to a project folder, or go <tab> to tab through all project directories from anywhere in your terminal!
My Favorite Aliases
Aliases allow you to assign “shortcuts” to reduce typing in your terminal. Here are a few of my favorite (these go in your ~/.bashrc or ~/.zshrc file):
Clear the Terminal
alias c=“clear” I’m a neat freak, so I’ve aliased the clear command to c. I type c to quickly clean up my current terminal session and enjoy the zen of a clean screen.
A Less Ambitious Ping
alias ping="ping -o"I sometimes use the ping <URL> command to grab the IP address of sites. The problem with ping is that it continues to run after you start it, so you have to cancel it. Alias ping to ping -o to grab only one reply packet and exit—now, ping will display the site’s IP address and exit.
A Safer rm
alias rm="rm -i"If you use the rm command to delete files, they’re gone forever. Adding the -i flag to rm tells the command to ask you first before deleting the file. I like this layer of cross-checking to help prevent me from accidentally deleting files I want.
Install Packages Quickly
alias i="bundle install && npm install"For even more fun, you can chain commands together with &&. Installing Ruby gems and then node modules are common tasks when starting up a new project. Why not chain the two commands together and pack them into the single simple command i?
Plugins and Enhancements
zsh: The Shell for Lazy People
I couldn’t live with myself if I wrote a command line article and didn’t evangelize zsh. Zsh is a shell that gives you many helpful productivity features in your terminal.
What are “shells?” Glad you asked! Shells are command processors that handle interpreting your commands into actions in the terminal. Your Mac ships with the bash shell, but you have others to choose from.
While your default bash shell will serve you just fine, the more advanced zsh will serve you even better. Here are the best features of zsh:
Way better tab autocompletion
Git tab autocompletion
Spelling correction
…and more. The open source oh-my-zsh project is the best way to get up and running with zsh. Oh-my-zsh is like a package manager for your zsh configuration, and it comes with a lot of great “starter kit” configurations, plugins, and visual themes.
gitsh shell: git Bought an Island and Lets You Stay There for Free
Gitsh is an interactive shell for git, built by the wonderful folks at Thoughtbot. Since you’re a responsible developer using source control, you’re spending a lot of time typing git <command>, right? Gitsh is a dedicated subshell for git, which means everything you type once you enter it is a git command.
Here’s how it works. After you install gitsh, you’ll enter the shell:
gitsh
Now you’re in git land. Type standard git commands without typing git:
pull
checkout -b dev
push origin dev
<return key> # defaults to git status
There are a few other handy features listed in the project README. Give it a spin and see if you like saving the few characters of typing.
hub: git All Grown Up and Moving Out
Hub is a command line tool that gives you Github sugar in your terminal. It’s super nifty when you alias the hub command to the git command, so it feels like git with superpowers.
My favorite feature is the browse subcommand. Once you’ve installed hub, navigate to a project with git and type hub browse (or git browse if you’ve set up the alias...or just browse if you’re using gitsh—see what I did there?!) This command will launch the Github project for that repo in your default browser. Way cool!
Hub has lots of other cool commands worth checking out. You can clone repos with a shortened syntax (eg. git clone github/hub rather than git clone git@github.com:github/hub.git), quickly create pull requests, fork repos, and more!
tig: git Spelled Backwards
At the risk of oversimplifying, tig is a command line tool that gives you a wonderful viewing layer on top of git. If you’re using git on the command line, you already know that you’re taking advantage of the speed and clarity of git in its purest form. Why not go one step further with tig? Enjoy the terseness of command line git, yet the beautiful context that tig provides.
Get started by installing tig (Note: the docs don’t tell you, but you can install tig with homebrew too: brew install tig. I recommend this.) Enter tig by typing tig within a directory where git is installed.
You’ll see what looks like a more helpful and colorful view of git log. Navigate the repo’s commits by typing j or k and Enter to switch to any commit’s diff view. Type q to return to the previous screen. Cool, right? Even if that is all you ever do with tig, it’s a great tool that allows you to review commit authors and dates, see changes to files, and get a sense of the project history.
For even more fun, read through tig’s view switching in the docs. Typing B for blame view (once you’ve descended into a file with your cursor) uses git blame to present a colorful view of which developer contributed to each line of code in the file. Typing H will show relevant information about the project’s current branches, and y will show your current stashes.
All of these features are available to you in raw git, but the power of tig lies in its syntax highlighting and view layouts. Spend less time trying to read the text and more time fixing your problems.
Just a Start!
This is just a start—and honestly, these are just tools that I personally love. Tweaking your terminal is a wide open landscape—if you have stuff you love or find, reach out and let’s swap tricks!
